With summer on the way, you can expect a lot of hot days, ice cream, pool trips, and rainstorms. Because of how hot it can get in the summer, thunderstorms can happen multiple times in a month in some areas. Because of this, your rain gutters usually work over time from June to August. Although it can be annoying, these rainstorms also provide a great opportunity to make something beautiful for your yard.
Why You Should Want a Rain Garden
Typically, during a downpour, rain will come out of the gutters, through the lawn, and wind up in either the road or riverbed. This might not sound like a huge issue since it’s rainwater, which is a natural substance. However, the pesticides and other chemicals you use on your lawn may not be as natural and we shouldn’t want that in our rivers.
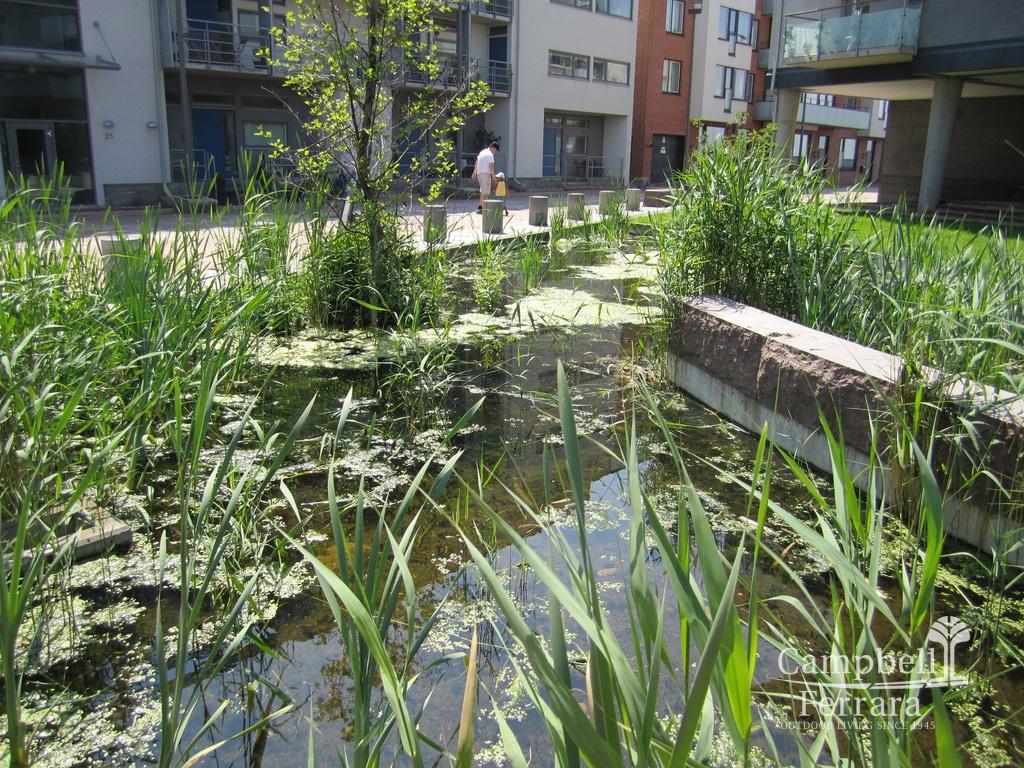
A rain garden acts as a buffer for your gutters. Building a Rain Garden is fairly simple if you are ready to put in a little bit of work to get it started.
The Basics of Building a Rain Garden
Before you just start digging a hole in your yard, make sure you know the rules and regulations in your city or in your Home Owner’s Association. Once you check to make sure your plans are okay with the powers that be, you are going to need to acquire the proper tools.
Once that is done, you need to find a spot on your lawn that can absorb a lot of water. To do this, dig a hole in your yard to test the prosperity of the soil. The hole shouldn’t be any bigger than a coffee can. Once the hole is dug, fill it with water and time how long it takes the soil to absorb the water. The ideal absorption rate for a rain garden is an inch of water every 2 hours, or 12 inches in 24 hours.
To determine the size of your garden, you have to estimate how much rain is going to fall off your roof during a rainstorm. Your local extension office should have information on the average amount of rainfall that happens in your town based on previous years. The best shapes for a rain garden is usually a kidney, teardrop or oval.
Once you have determined the size, placement and shape of your garden, mark the outline on your lawn with spray paint. Then you will have to remove the grass from the area.
Using a shovel or an excavator, dig your garden to your desired depth. You will also dig a trench for your inlet pipe–the thing that will drain the rainwater into your garden.
After that, you will install the piping. Rigid piping is going to be more durable than smooth. You should line the area around the pipe with stone–a lot of people choose to cover the entire pipe with stone to make the appearance a bit more aesthetically appealing. Once that’s finished, you are going to start filling the basin and you are officially on the way to having a lovely rain garden.
Choosing Your Plants
Once you have your soil in place, it’s finally ready to start filling your garden with plants. We won’t dictate what plants you use, but here are some general tips.
Rain Gardens are typically divided into three zones:
- Zone 1: is the center of your garden so the plants you place here need to be able to spend a lot of time in the water.
- Zone 2: should have plants that can tolerate being in standing water but shouldn’t require it to survive.
- Zone 3: is hardly ever going to stay wet for a long period of time, so choose plants that prefer a drier climate.
With that in mind, head over to your local garden center and pick out your plants.
Rain gardens are a fun and beautiful way to start helping the environment. For a little money and a lot of elbow grease, you and your family can make this your next summer activity and get it ready before the next rainstorm hits town.

